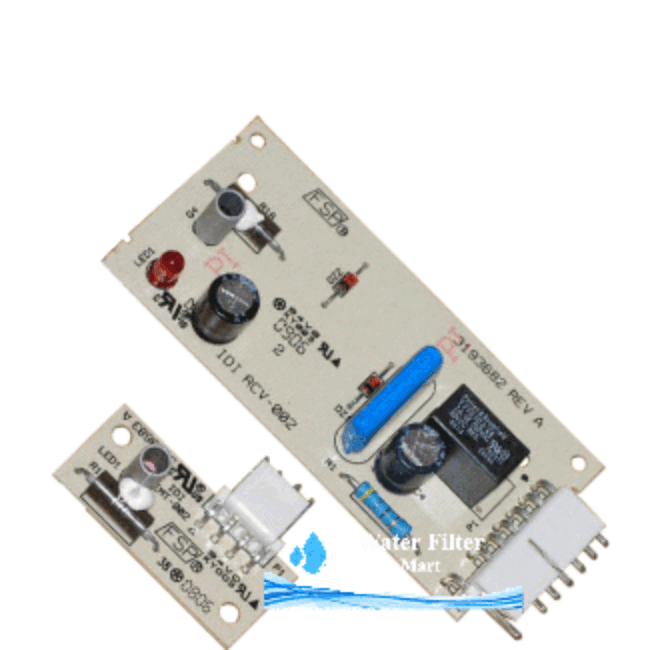
Whirlpool W11629974 Ice Level Optics Board AP7205486
$169.95
Free S&H Over $75
In Stock
Description
Whirlpool W10757851 Ice Level Optics Board Kit 4389102
(Orders Over $75 get Free S&H)
Includes The Emitter & Receiver Board
Used for All Models with vertical ice container in freezer door.
If the ice level control board fails, the ice maker will stop making ice.
Be sure to correctly diagnose before purchasing.
Here are the 4 things to check!
1) (Freezer temp. approx. 0? to 5?)
2) (ice level optics board)
3) (water inlet valve)
4) (ice maker).
Replaces Part Numbers: 4389102, 2198585, 2198586, 2220398, 2220402, 2255114, 3452789, 4388635, 4389102R, 921526, AH557945, AH5956767, AP3137510, AP5956767, EAP557945, EAP10064583, ER4389102, PS557945, PS10064583, W10193666, W10193840, W10290817.
Ice Level Optics Board Diagnostic:
(This Component Tells The Ice Maker If The Ice Bin Is Full Or Not)
Meaning If Ice Bin Is Full – The Red LED Beam Will Be Blocked By The Ice Therefore Not Letting The Ice Maker Cycle Any Ice To Be Harvested Until The Red LED Beam is Clear (Ice Is Lower Than The Beam).
A Good Ice Maker Control Board Is Indicated By:
A Steady Red Beam When You Open The Freezer Door And Hold The Flipper On The Left Side Wall In.
A Bad Ice Maker Control Board Is Indicated By:
If You Get A (Blink – Blink – Pause – Blink – Blink – Pause ) Continuously When You Open The Freezer Door And Hold The Flipper On The Left Side Wall In.
Installation Instructions:
- Disconnect the power supply to the refrigerator by unplugging the power plug, or by turning designated circuit breaker off at the fuse panel.
- Remove the screws from the emitter cover on the right side and remove.
- Now disconnect the wire harness and remove the screws accordingly in order to release the emitter control board from the slot.
- Now install the new emitter board by connecting the wire harness & screw the new emitter board into place.
- Replace cover and leave switch in the off position.
- Next carefully remove the screws from the receiver cover on the left side and remove.
- Now disconnect the wire harness and remove the screws accordingly in order to release the receiver control board from the slot.
- Now install the new receiver board by connecting the wire harness & screw the new receiver board into place and replace cover.
- It’s now time to turn your power back on to the refrigerator.
- Slide ice maker switch to the on position.
Follow such simple steps of installation and you can really do it yourself. Now sit back and in a few hours you can enjoy your favorite drink with some refreshing ice.
Additional information
| Weight | 0.75 lbs |
|---|


